

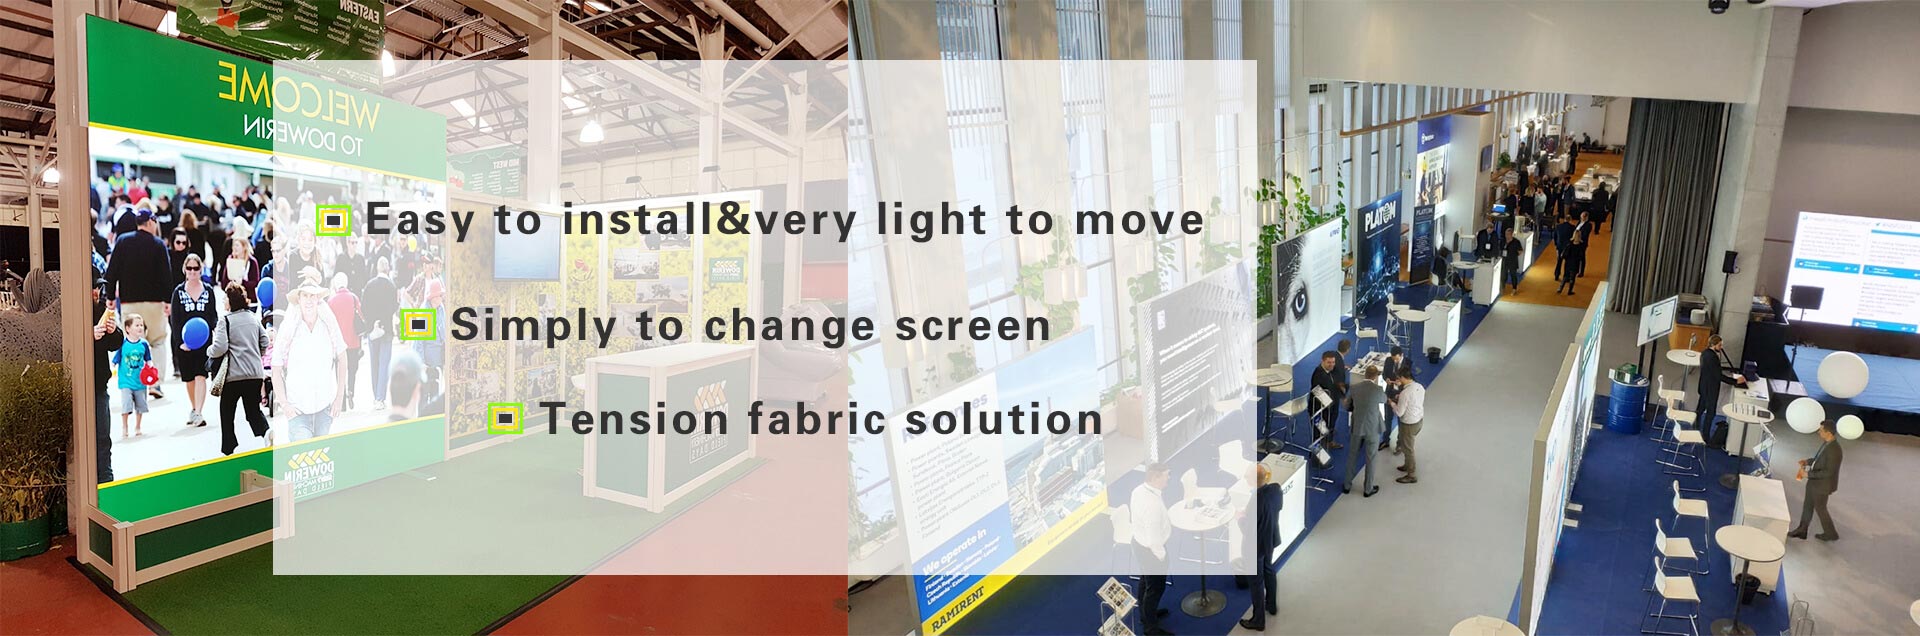
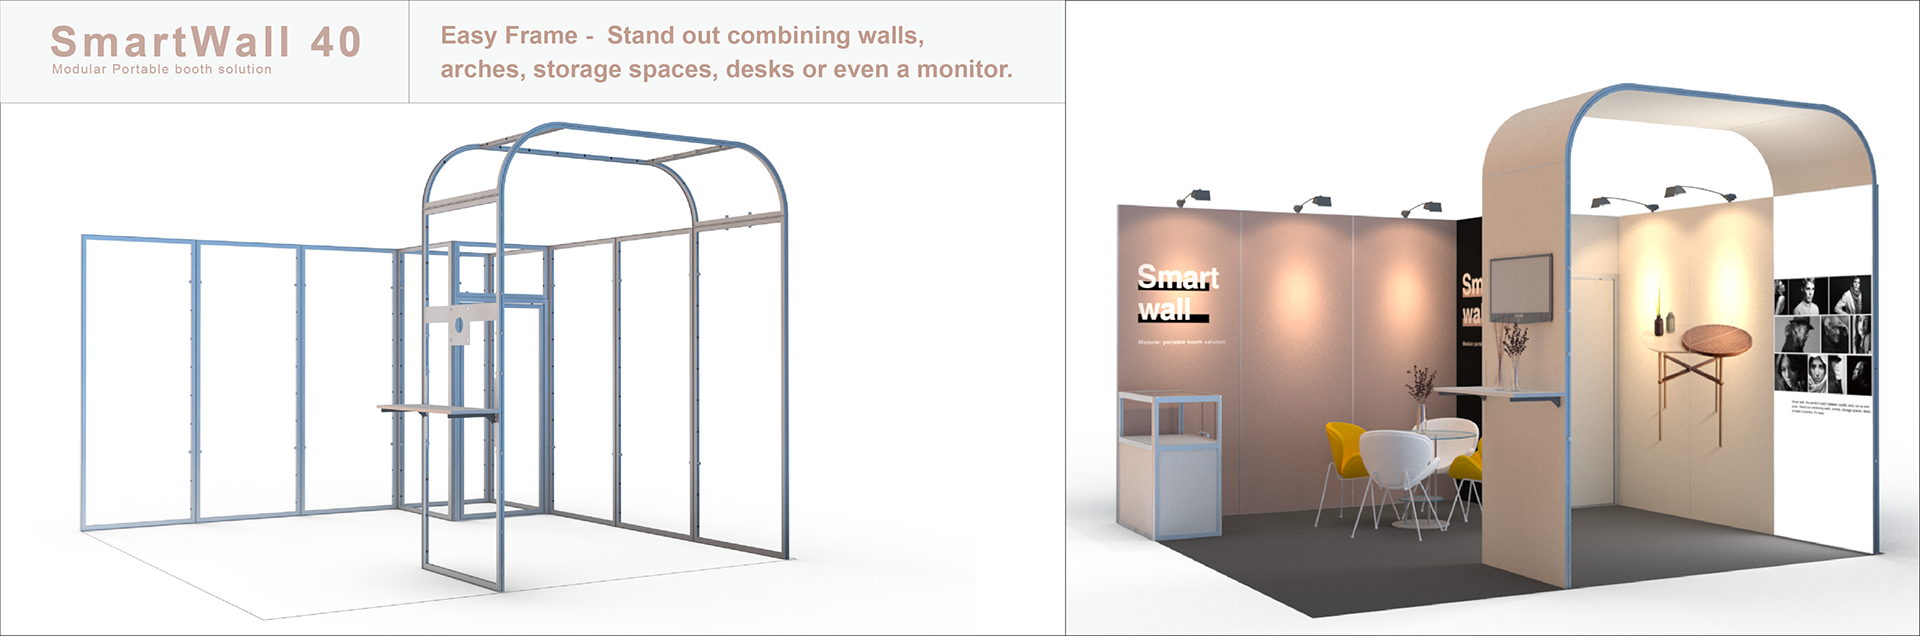

To specify a modular booth for frequent trade shows, I begin with event requirements, available floor plans, visitor flow, technical loads, graphics, transport, and total ownership cost. I then create a component matrix showing which parts stay constant and which change between 10×10, 10×20, corner, and island configurations. This approach reduces repeated redesign work and makes setup, storage, and future expansion easier to control.
!
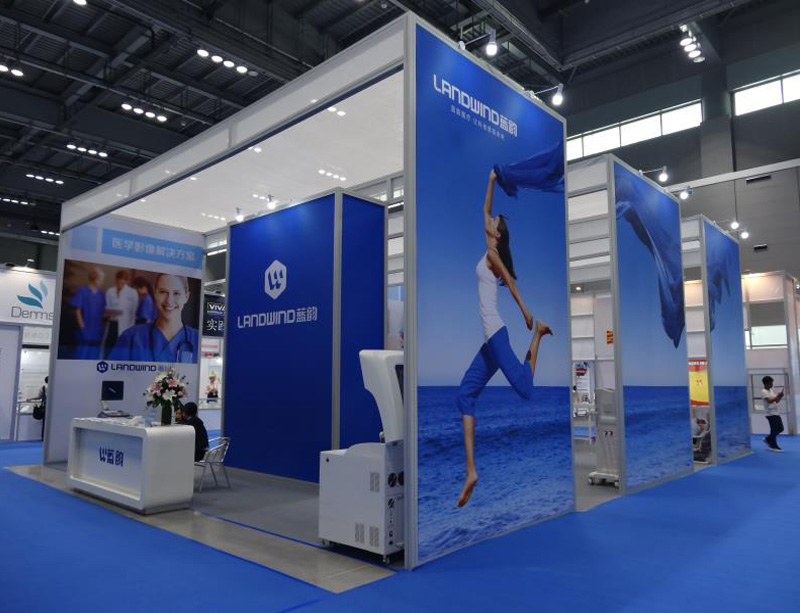
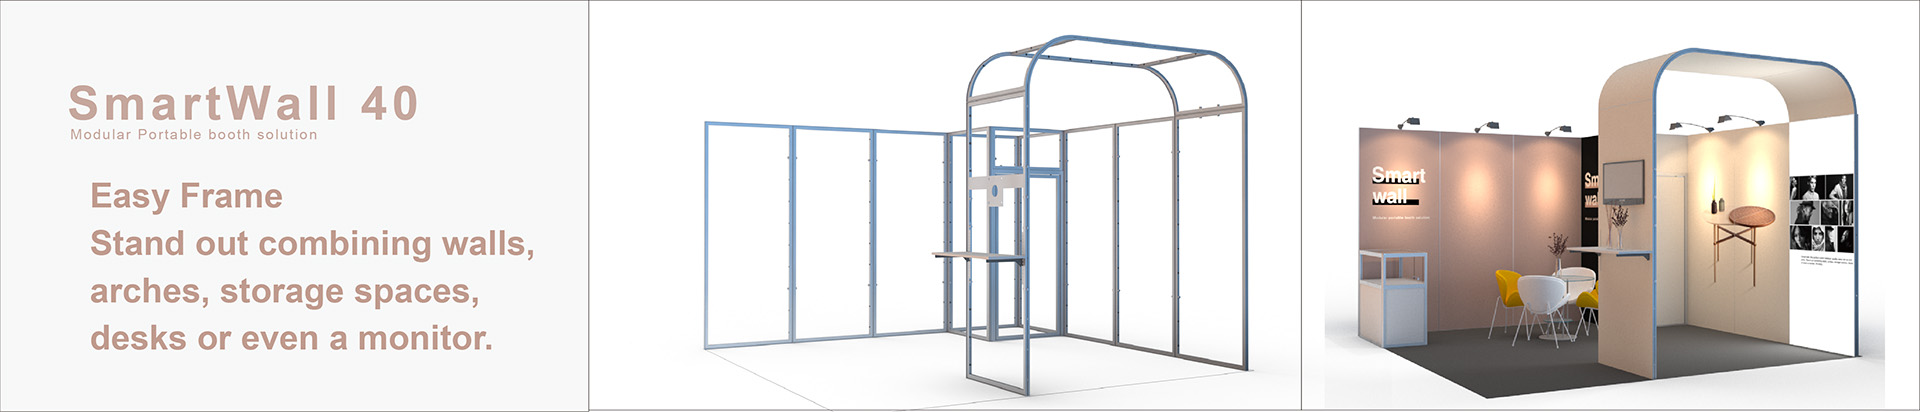
A modular trade show booth uses standardized frames, panels, graphics, counters, lighting, and accessories that can be assembled in different combinations. Unlike a single-use display, the same core components may support several booth sizes and layouts when the system has compatible connectors and adjustable graphic solutions. This makes modular systems suitable for exhibitors attending multiple events with changing floor plans.
I recommend modular construction when a company expects to exhibit at least three or four times within the planned ownership period. The business case becomes stronger when the exhibitor needs different footprints, such as a 10×10 inline booth for regional events and a 10×20 or island booth for major conferences. A modular system also helps teams standardize brand presentation while adapting storage, meeting areas, product displays, and technology to each venue.
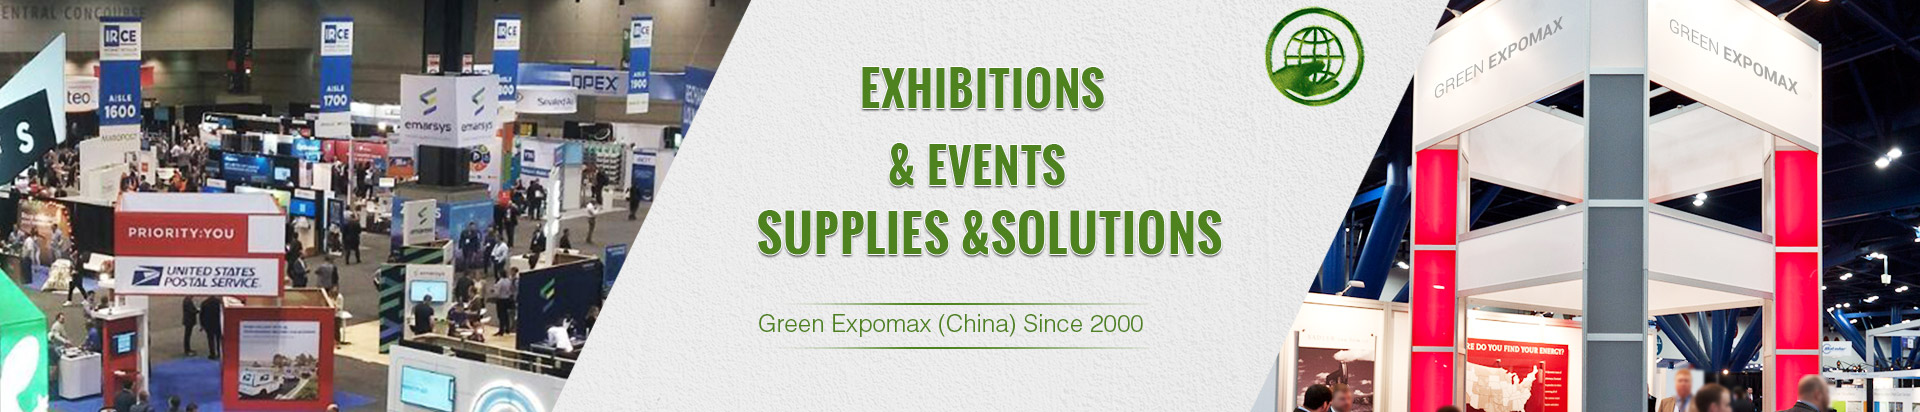
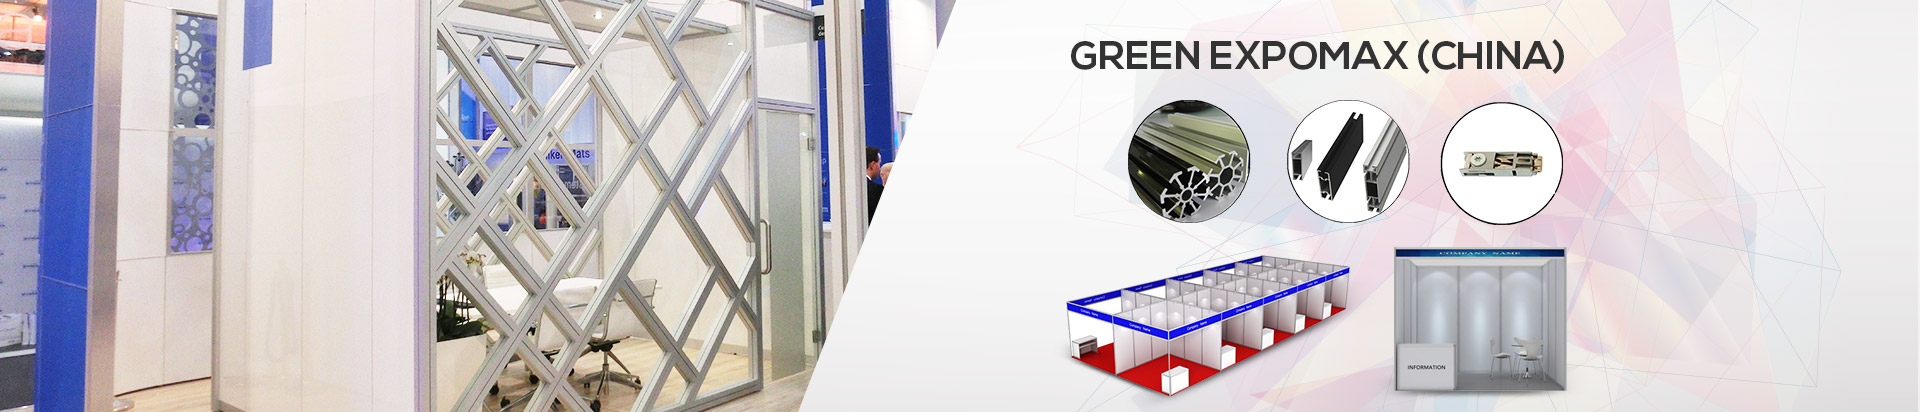
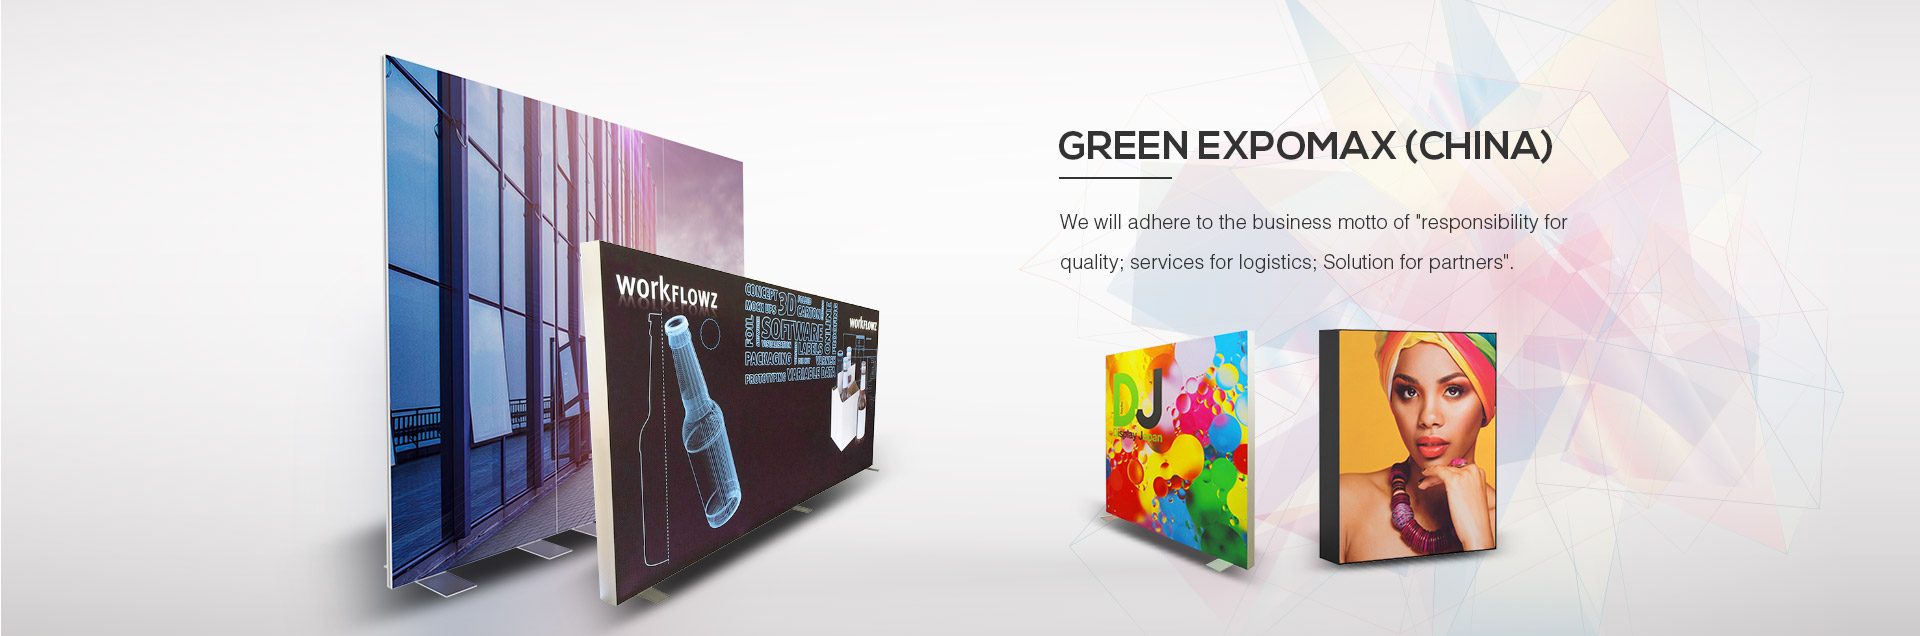
Green Expomax describes its operations as focused on aluminum exhibition and event products, including modular easy-frame systems, exhibition systems, tension fabric displays, SEG systems, booth cases, flooring, furniture, showcases, and related fittings. The company states that it operates a 3,000-square-meter factory in Changzhou, China, has approximately 15 years of production experience, and exports to more than 40 countries. Its product range also includes Trade Show Booth Kits for exhibitors seeking packaged display components.
I start by listing every confirmed and probable event for the next 24 to 36 months. For each show, I record the assigned footprint, maximum height, open sides, ceiling or hanging restrictions, electrical access, installation window, dismantling window, venue location, and expected visitor volume. This event register becomes the foundation for the modular booth specification guide.
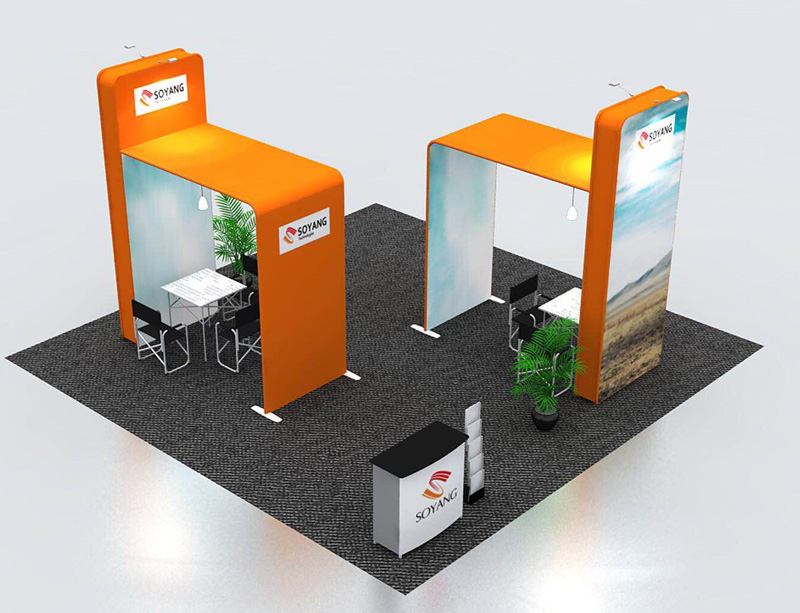
The specification should identify whether the booth will be used in an inline, corner, peninsula, or island position. An inline booth usually needs a strong front-facing graphic and a compact meeting zone, while a corner booth needs graphics visible from two aisles. An island layout requires attention to all four sides, overhead visibility, storage concealment, and access for installation crews.
I also define the booth’s commercial purpose. A software company may need monitor mounts, charging points, product demonstration counters, and semi-private meeting space, while a manufacturer may need shelving, sample displays, product literature, and floor-level demonstration areas. These requirements affect frame loading, electrical planning, furniture selection, graphic dimensions, and packing volume.
A configuration matrix shows how the same modular booth changes across event spaces. I separate the system into constant components, optional components, and event-specific components. Constant components may include corner posts, connectors, counters, monitor brackets, LED lights, storage cases, and branded furniture, while optional components may include additional frames, shelves, meeting rooms, or towers.
| Event configuration | Components that remain constant | Components added or removed | Primary design change |
|---|---|---|---|
| 10×10 inline | Main frame, counter, lighting, monitor mount, storage case | Remove secondary meeting wall and extra shelving | Compact front-facing presentation |
| 10×10 corner | Main frame, counter, lighting, monitor mount | Add side-facing graphic or display panel | Two-aisle visibility |
| 10×20 inline | Main frame, counter, storage, lighting, AV hardware | Add frame bays, meeting table, product shelves | Longer visitor path and larger demo zone |
| 20×20 island | Core frame, counters, graphics hardware, AV mounts | Add perimeter walls, towers, meeting areas, and storage | Four-sided access and open circulation |
For each configuration, I record finished dimensions in millimeters, estimated packed dimensions, component weight, graphic count, assembly labor, and required tools. I also confirm whether the same connectors support each planned shape. A system that cannot be reconfigured without custom drilling, cutting, or replacement parts may create higher labor and repair costs than expected.
The matrix should include a minimum of one approved layout for every planned booth size. I suggest marking each component with a code such as F-01 for frame, G-01 for graphic, L-01 for lighting, and AV-01 for monitor hardware. This coding system simplifies packing, inventory checks, replacement orders, and instructions for temporary installation teams.
A modular booth should be specified around visitor behavior rather than only around wall dimensions. I normally divide the floor plan into four zones: attraction, engagement, conversion, and support. The attraction zone faces the main aisle and uses the primary brand message, while the engagement zone holds product demonstrations or samples.
The conversion zone may contain a meeting table, consultation counter, lead-capture station, or product quotation area. The support zone contains concealed storage, spare graphics, packaging materials, personal belongings, cleaning supplies, and technical equipment. Without a support zone, staff often place cartons or cases behind visible walls, reducing usable floor area and weakening visitor flow.
The specification should state clear circulation targets. As a planning reference, I use a minimum clear staff and visitor route of approximately 900 millimeters, with wider paths where wheelchairs, product demonstrations, or two-way traffic are expected. Meeting areas should not block the primary entrance, and counters should be placed where staff can greet visitors without creating a queue across the aisle.
A complete modular booth specification should include the following information:
I also specify inspection criteria before production. Critical dimensions should have written tolerances, such as ±2 millimeters for frame cut length where panels must align, while graphic dimensions should follow the supplier’s approved template rather than a general estimate. The supplier should confirm load limits in writing instead of relying on visual similarity to another display.
Trade show booth graphics should be planned as replaceable assets rather than permanent decoration. I identify which graphics must remain unchanged across all events, such as the logo and core brand panel, and which graphics may change, such as campaign messaging, product names, prices, dates, or partner information. This reduces the need to reproduce the entire booth when only one message changes.
The graphic specification should list visible dimensions, bleed requirements, fabric or panel material, print resolution, color references, finishing method, and the number of spare prints. For fabric systems, I request sewn or finished edges that match the selected frame. For rigid panels, I confirm whether the material is reusable, recyclable, scratch-resistant, or suitable for repeated installation.
Lighting and monitor integration should be designed into the frame from the beginning. I record the number of LED fixtures, fixture wattage, cable routes, power supplies, monitor sizes, mounting hardware, and ventilation clearances. A 55-inch monitor, for example, creates different structural and power requirements from a 32-inch monitor, so the AV specification cannot be left to the final installation stage.
Before approving production, I use this checklist to verify the measurable elements of the reusable trade show display:
| Specification area | Information to confirm |
|---|---|
| Dimensions | Width, depth, height, footprint tolerance, open sides |
| Weight | Individual part weight, case weight, total shipment weight |
| Load capacity | Shelf load, counter load, monitor load, overhead accessory load |
| Connectors | Connector type, tool requirements, spare quantity, replacement method |
| Graphics | Finished size, material, print data, edge finish, spare panels |
| AV | Screen size, bracket type, wattage, cable route, power supply |
| Storage | Internal storage volume, lockable areas, case dimensions |
| Assembly | Crew size, target setup time, tools, sequence, dismantling method |
| Logistics | Number of cases, pallet requirements, shipping mode, labeling |
| Compliance | Height, fire rating, electrical, accessibility, rigging, labor rules |
I set a setup-time target for each layout before selecting the system. For example, a 10×10 configuration may have a target of two trained people completing assembly in 90 minutes, while a 20×20 island booth with lighting, monitors, storage, and meeting furniture may require four people and four to six hours. These are planning targets, not universal standards, and the supplier should validate them with an assembly trial.
When I choose a reusable trade show display, I assess the full operating cycle rather than the purchase price alone. The system must fit the company’s storage area, vehicle or freight plan, event schedule, installation resources, and graphic update process. A display that looks suitable in a rendering may become impractical if its cases exceed venue handling limits or require specialized labor at every show.
Packing and shipping requirements deserve a separate section in the specification. I record the number of cases, external dimensions, gross weight, stacking restrictions, case materials, wheels, handles, and lifting points. I also ask whether a damaged frame, connector, graphic, or light can be replaced individually instead of forcing the purchase of a complete kit.
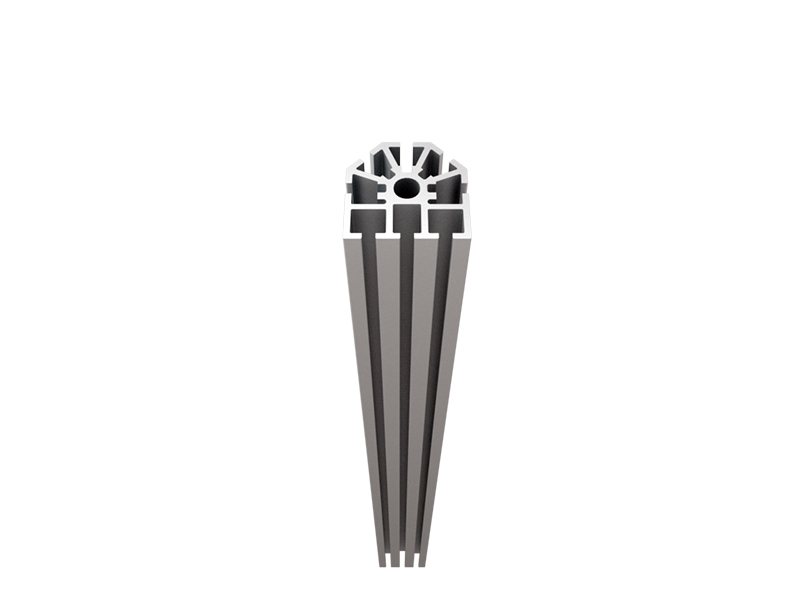
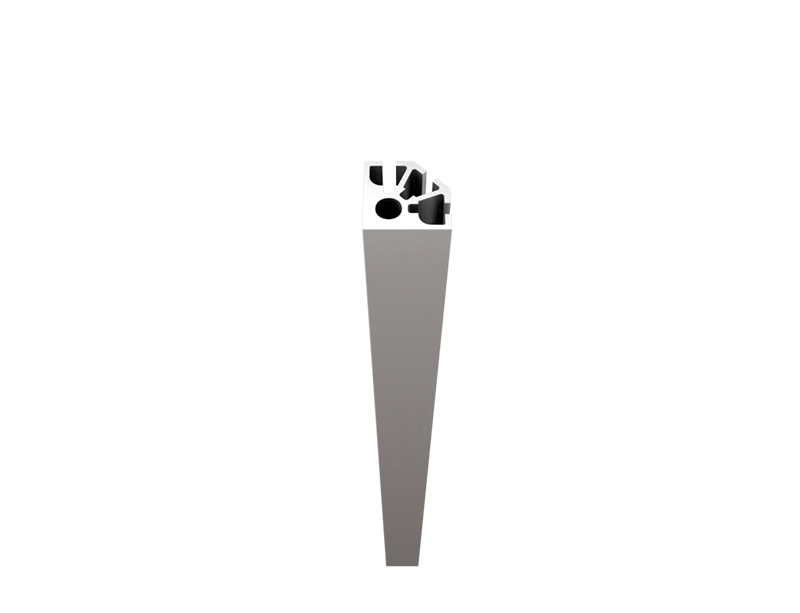
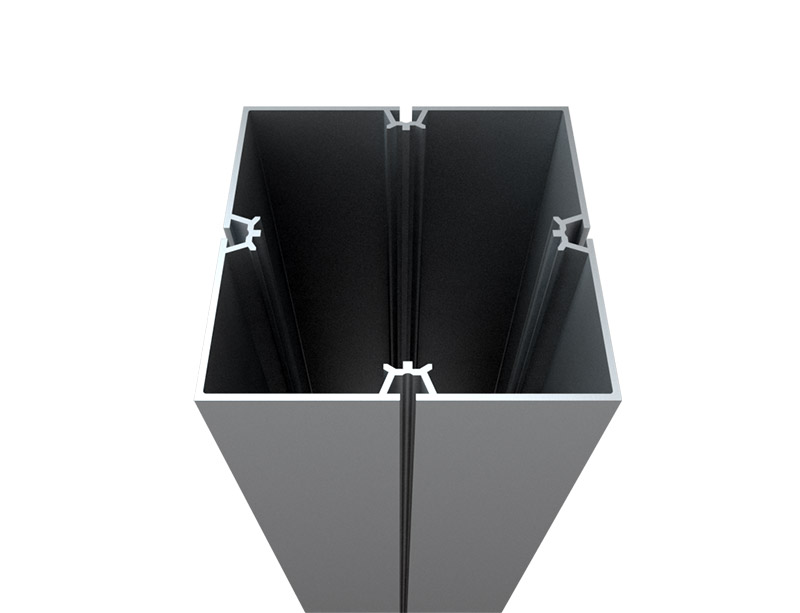
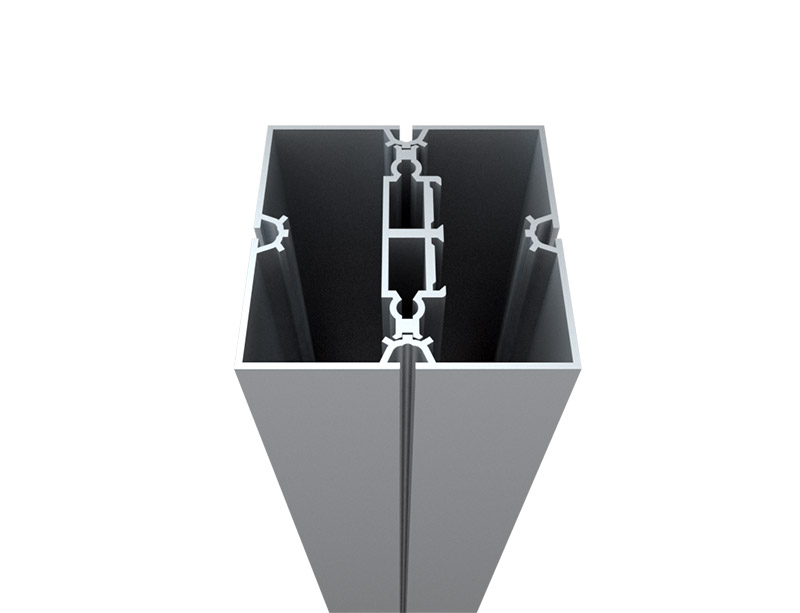
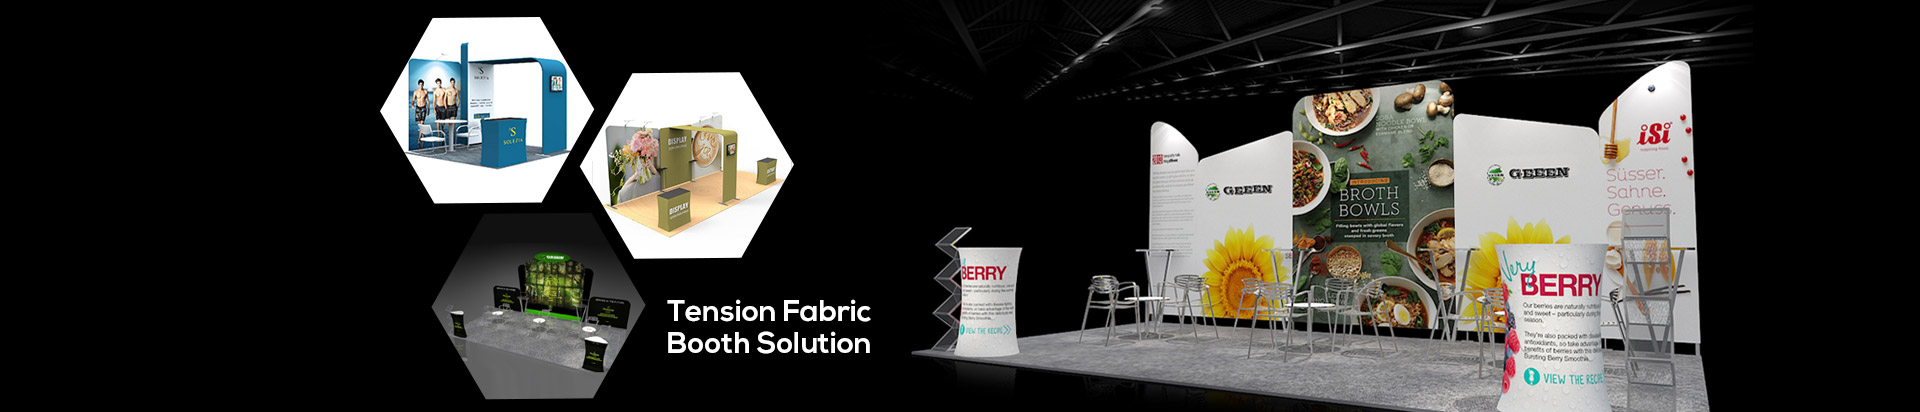
The supplier should provide assembly drawings, component lists, graphic templates, maintenance instructions, and replacement-part procedures. Green Expomax presents several product families that may be relevant to this process, including modular easy-frame displays, 8-way extrusion systems, Maxima extrusion, tension fabric systems, SEG displays, booth cases, flooring, and accessories. These categories should be compared against the specific configuration matrix rather than selected solely by appearance.
The difference between a modular booth and a custom booth is mainly the degree of standardization and reuse. A custom booth is usually designed around one event, one footprint, and one visual concept, whereas a modular booth uses repeatable components that can be rearranged. For frequent exhibitors, modular construction often provides more predictable reconfiguration, but a custom design may be appropriate when the venue, product, or brand experience requires unusual architecture.
| Factor | Modular booth | Custom booth |
|---|---|---|
| Reconfiguration | Designed for multiple layouts | Usually limited after production |
| Initial design work | Based on defined components and connections | Created for a specific concept |
| Graphic updates | Often replaceable by panel or fabric section | May require custom fabrication |
| Setup | Repeatable when components are labeled | Can require specialized installation |
| Storage | Planned around reusable cases | May include event-specific structures |
| Best fit | Recurring events and changing footprints | One major event or unique environment |
| Main risk | Poor compatibility between components | Higher redesign and fabrication dependence |
I do not treat modular and custom as completely separate categories. A modular booth can include custom graphics, branded counters, shaped panels, lighting features, and special displays, provided the additional elements do not prevent future reconfiguration. The practical question is whether the customized parts support the event calendar or create components that can only be used once.
A modular booth specification should include a total-cost-of-ownership model. I calculate the planned cost using purchase, graphics, freight, storage, installation labor, dismantling labor, repairs, and event-specific additions. The basic formula is:
Total ownership cost = purchase cost + graphics + shipping + storage + setup labor + dismantling labor + maintenance − resale or residual value
For an illustrative example, assume a modular system costs $18,000, reusable graphics cost $2,400, average freight is $900 per event, storage is $1,200 annually, and setup plus dismantling labor totals $1,600 per event. If the booth is used for six shows over two years, the estimated cost is:
| Cost item | Illustrative amount |
|---|---|
| Booth system and accessories | $18,000 |
| Initial graphics | $2,400 |
| Freight for six events | $5,400 |
| Two years of storage | $2,400 |
| Setup and dismantling labor for six events | $9,600 |
| Estimated two-year total | $37,800 |
| Estimated cost per show | $6,300 |
To compare this with a custom booth, I model the complete event calendar rather than comparing only the first invoice. If six custom booths would cost $12,000 each, the display fabrication total alone would reach $72,000 before freight, storage, and labor. The modular option in this illustration would break even against that fabrication-only comparison after approximately four events, but the actual result depends on booth size, labor rates, graphics replacement, shipping distance, and venue requirements.
Before production, I request the exhibitor manual for every confirmed venue. I record maximum wall and sign height, hanging-sign rules, fire-retardant documentation, electrical service, floor-loading limits, accessibility requirements, rigging approval, union labor rules, and advance-order deadlines. These details can change the correct frame height, lighting plan, assembly method, and delivery schedule.
I also assign responsibility for each approval. The exhibitor may provide artwork and electrical details, the supplier may provide structural and fire-rating documents, and the general contractor may approve rigging or installation procedures. The specification should include dates for artwork submission, engineering review, advance warehouse delivery, direct-to-show delivery, and return shipping.
A practical risk register should identify what happens if one component fails. I ask whether the booth can remain functional with one light, monitor, graphic panel, or connector unavailable. Spare connectors, replacement graphics, extra power supplies, and labeled repair kits cost less than losing an entire event because of one missing or damaged part.
I use a weighted supplier scorecard to compare proposals consistently. Price should be included, but it should not be the only category because documentation, replacement availability, delivery control, and installation support affect the cost of every future event.
| Evaluation category | Suggested weighting |
|---|---|
| Engineering drawings and load documentation | 20% |
| Compatibility across planned configurations | 20% |
| Replacement-part availability | 15% |
| Lead time and production schedule | 15% |
| Warranty and defect-resolution process | 10% |
| Installation and dismantling support | 10% |
| Simultaneous-event capacity | 5% |
| Packing, labeling, and logistics documentation | 5% |
For a supplier serving frequent exhibitors, I request a component-level quotation rather than a single package price. The quotation should separate frames, connectors, graphics, lighting, AV mounts, counters, storage, cases, freight, installation, and optional expansions. This makes it easier to approve a 10×10 system now while preserving a documented path to a 10×20 or island configuration later.
I also ask for a physical or recorded assembly demonstration before final approval. The demonstration should measure setup time, identify the tools required, show graphic installation, test monitor mounting, confirm cable routing, and verify that packed components match the inventory list. This evidence is more useful than a rendering because it tests the actual operating requirements of the reusable booth.
To specify a modular booth for frequent trade shows, I define the event calendar first, then document every planned footprint, layout, functional zone, technical load, graphic requirement, storage need, and logistics constraint. The specification should include frame dimensions, connector types, weight, load capacity, AV integration, lighting, storage, setup-time targets, packing cases, and venue-compliance documents. A configuration matrix then shows how the booth changes between 10×10, 10×20, corner, peninsula, and island layouts.
I also calculate total cost per show using purchase, shipping, storage, labor, graphics, maintenance, and reuse assumptions. Before selecting a supplier, I compare engineering documentation, replacement availability, warranty coverage, production lead times, installation support, and the ability to supply components for simultaneous events. For exhibitors planning recurring trade shows in 2026 and beyond, this process provides a practical basis for selecting Trade Show Booth Kits or a larger modular exhibit system without treating every event as a completely new project.
Previous: None
Next: Who We Are


Copyright © Green Expomax (China) Exhibition Equipments Co.,Ltd. All Rights Reserved | Sitemap |